Layout
PCB
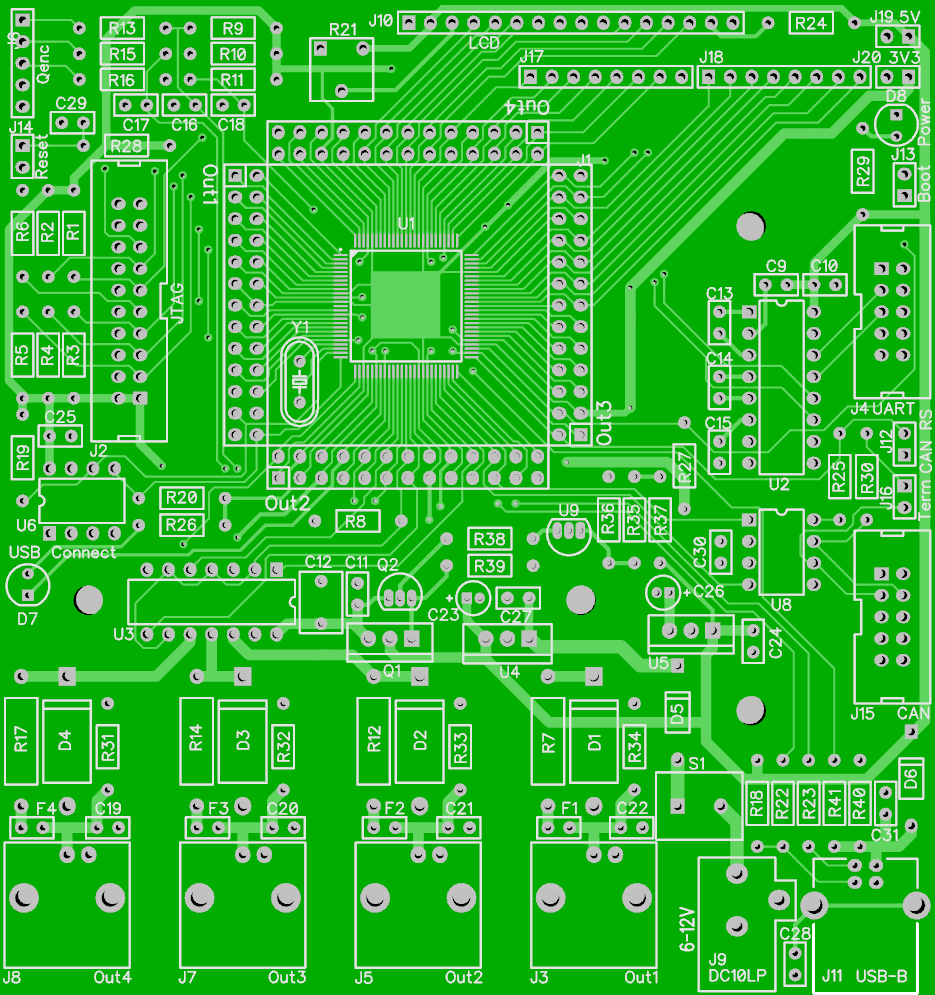
Just like the schematic, also the layout was done with DipTrace.
Again, since more than 554 pins are used, the DipTrace Lite license
(limited to 500 pins) is not sufficient and at least the Standard License
(1000 pins) is needed to modify the PCB layout.
As the whole project, it's released under the Creative
Commons CC-BY license. The full layout in DipTrace and gerber format
can be found in the repository.
The aim of the layout was to get a PCB which would allow assembly as easy
and fast as possible even for people without advanced soldering skills and
equipment.
The following objectives were set for the layout:
- Use of a commercially available core board to avoid SMD soldering
(especially because of the LQFP100 with only 0.5mm pitch).
- Fallback solution in case the core board is not longer available
- Use through-hole components where possible (use oval shaped pads to ease soldering)
- Allow screwing the PCB in a case without any further manual tinkering.
- Fit PCB into a case with front and back panel
- Mount all essential connectors (outputs, USB, supply) on the board to
allow usage even without case (→ placement of connectors must fit back
plate)
- Place the LCD directly on the PCB to avoid the need for some
mechanical bracket (→ placement of LCD must fit front plate)
- Keep the PCB as small as possible and use only two layers to keep
production cost low
As case, I chose a Donau
Eurobox KGB20/KGB21. It is available e.g. at Voelkner.de.
It is cheap, has 2mm front/back panels which can be easily cut/drilled or
exchanged with laser cut acrylic panels.
The layout of
the screw mounts is a little strange, but no major issue.
In the final layout, you can see how the mounting holes influence the
placement and how the LCD and Qenc connectors dominate the upper (front)
side of the PCB while the BNC, USB and DC connectors fill the complete
lower (back panel) side.


Indeed, my original plan was to keep the PCB width <= 100mm. However this
decreased the distance between the connectors on the backside too much, so I
had to increase the width to 117mm.
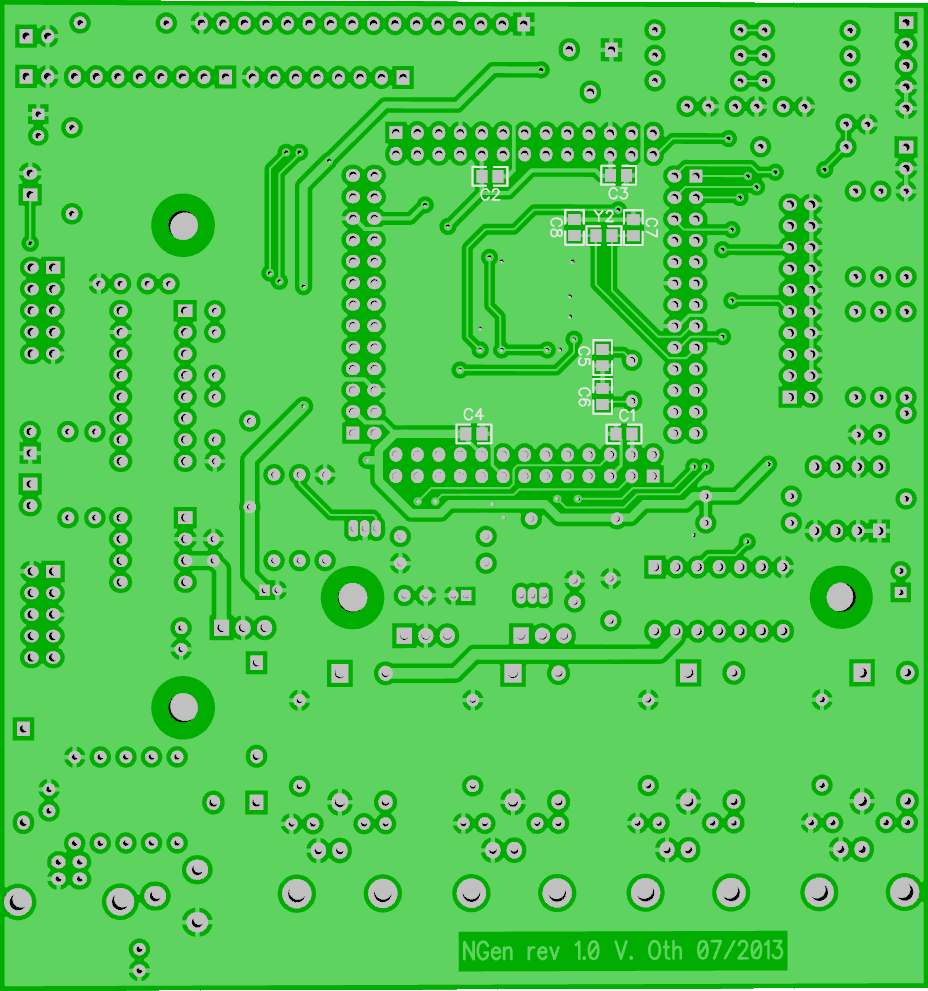
The backside is dominated by the ground layer which I tried to keep as
compact as possible. All the components on the backside are SMD capacitors
and the RTC Xtal which are not needed if the core board is used.
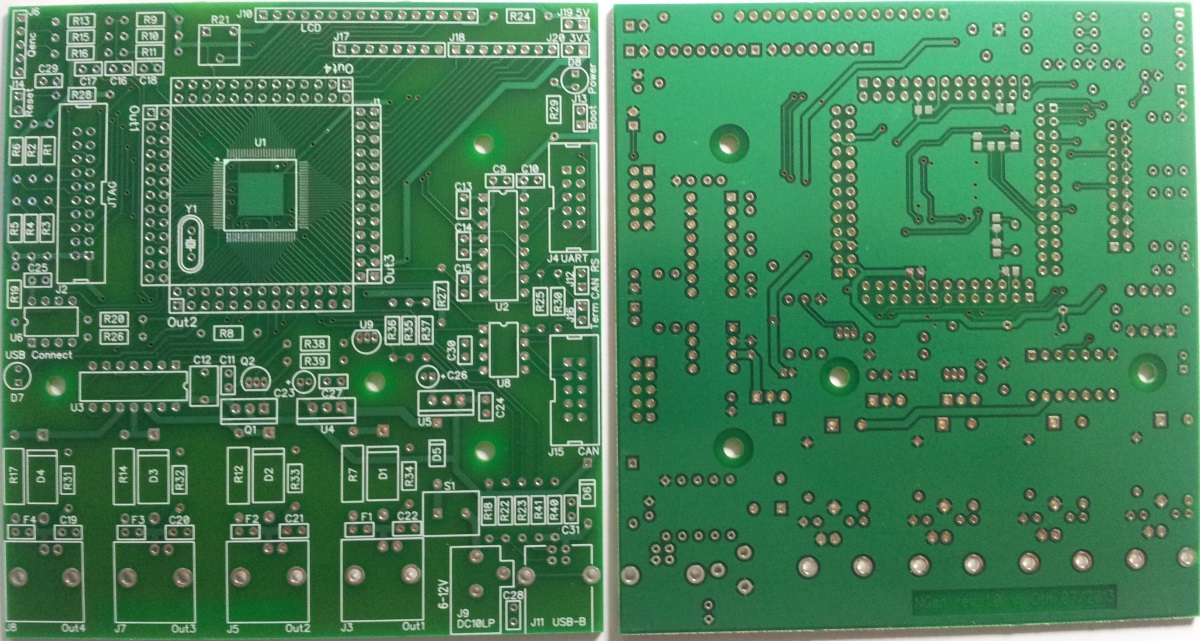
As manufacturer, I chose PCB-Pool/Beta
Layout using their low cost Jackaltac
option.
This way I paid around 100€ for 5 PCBs (117x100mm, FR4, 35µm Cu, 1.6mm, two
layers, solder resist on both sides, silkscreen on top).
The quality is top notch, especially considering the price point. Even the
solder resist between the LQFP100 pads (~0.1mm width) was no problem.
Excuse the cushion distortion caused by my cheap mobile cam...

Front and back panels
While I also cut and drilled the front and back panels first prototypes
manually, I quickly began to investigate how to get manufactured panels as
inexpensive as possible.
The most cost effective solution I found was using laser cut panels from
acrylic glass.
I found a service called Formulor
which is some kind of European branch of the American manufacturing
service Ponoko.
Formulor offers three panel sizes, where I chose the smallest one with
181x181mm which is large enough for three front or back panels.
The SVG files needed to order front and back panels can be found in the repository.
I tried two materials:
- 1.6mm one-sided brushed silver cover with black core
~16€ for a 181x181mm plate with three back panels and ~11€ for 181x181mm
plate with three front panels
Pro: looks like aluminium and due to its black core is ideal for
engraved labels
Con: a bit too thin, more expensive
- 2mm clear, transparent
~12€ for a 181x181mm plate with three back panels and ~6€ for 181x181mm
plate with three front panels
Pro: Cheap, fits perfectly, comes with a white sticker on the backside,
so can be used as opaque white
Con: LCD backlight still shines through, labels more or less unreadable
Untested: could be improved by using black foil on the backside (→
opaque and labels readable)
Unfortunately, the brushed silver material was discontinued,
but there's a new material "1.6mm black (one-sided) with white core" which
works just as good.
Back to main page


